This project was a very personal one as it brought together all the work I had done over the years into one, awesome showcase. I’ve included a commentary below on the process for creating it, though some of the clips have changed as the demo reel is constantly evolving as I create new clips.
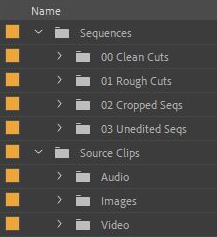
To begin this project, I needed to find and curate all the work I had completed so far. I made a copy of all of each project, created a shortcut for the original locations and moved all of them into a new “demo reel” folder. After that, it was time to import it into in Adobe Premiere, ensuring here too, that a good file structure was created before working on any of the clips.
Once inside Premiere, it was time to create sequences from each of the source files and then pull out the parts I liked. Within one minute of animation, there may be four or five key moments that I specifically wanted to use. Looking at the example image below, I went through the videos and made cuts wherever a clip I linked came up. For clips I thought were my best work, I moved these up two tracks, whilst clips I thought may have the potential to make it in, I moved to the second track. I then created clips from each of these cuts and moved them into my “02 Cropped Seqs” folder, giving me a bin of short clips that I could use on my reel.

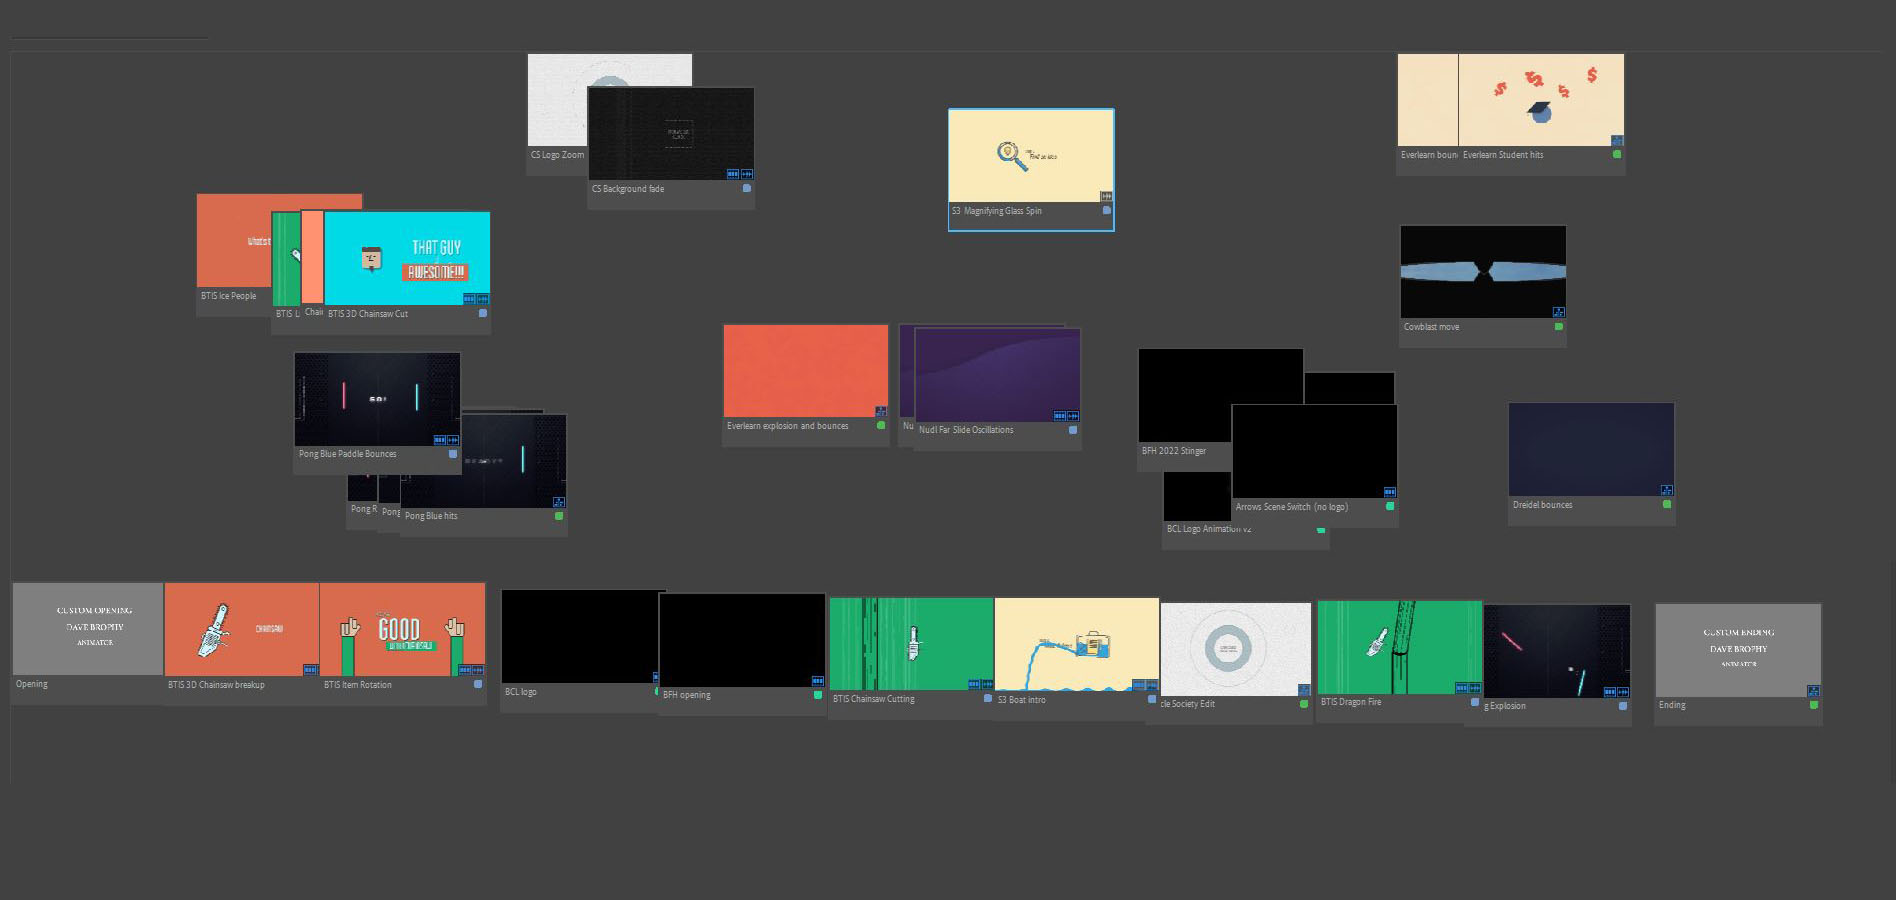
Once I had that bin full, I opened the panel in a new tab and here I used Premiere’s Freeform View. This changes the window into a similar layout to the file explorer view on Windows, with all of the files in the bin displayed with a thumbnail. Each thumbnail can be hovered over and allow the user to scrub through the footage just by moving the mouse to the right, allowing for a quick view of the footage. But the most powerful feature of the freeform view is that it allows clips to be dragged and dropped freely on the canvas, allowing for a quick draft layout of clips. These can then be selected and inserted into a timeline.
From here, the key questions I had to ask myself for each clip were “is this clip good enough to be in my demo reel or is it filler?” and “is this clip sending the message that I want it to send?” Starting with the latter, I needed to decide what I wanted my demo reel to say about me: who am I, what can I do and what do I want to do? I had done animation, motion design, video editing and dipped my toes into other areas, so what did I want to present myself as? This ended up being quite an easy decision: I want to animate, so I decided to keep my animation work and not use any of my design or video editing work.
As for determining whether a clip was filler or not, the obvious question was whether the work was my best work or not. This made it easy to cut some sections, but it couldn’t determine the value of every piece. Eventually, this became a more specific question of whether the clip was showing something I hadn’t already shown; if I have two clips from the same animation, both of which I feel are my best work, should I leave one out since they both say the same thing? The answer to that was “yes”.
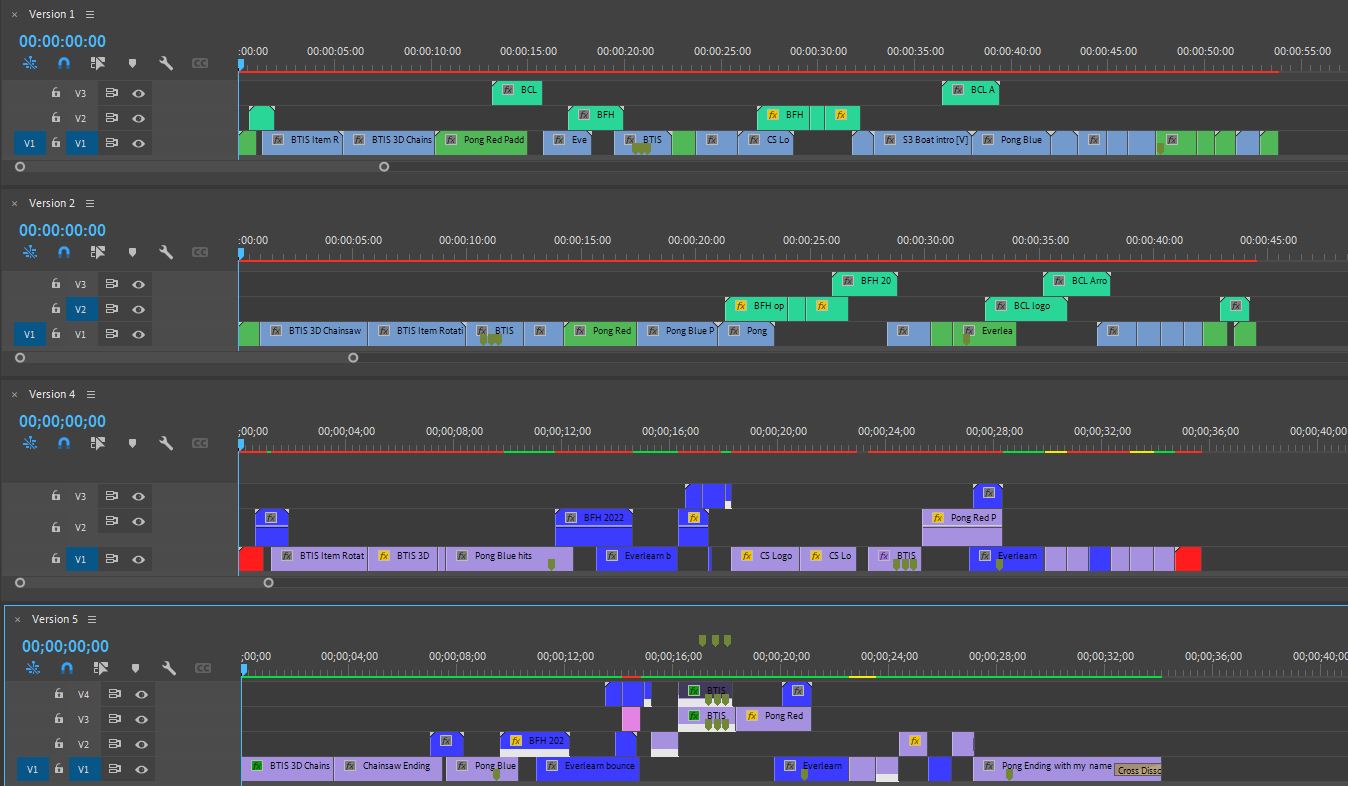
The image below displays different version histories from my timeline, starting off at one minute long and then eventually being reduced to just over thirty sections. Being ruthless with your clips is important as your target audience often has only a limited amount of time to assess your work and your message, so it’s important to get that message across quickly.
In terms of the editing process, the key to making the demo reel flow nicely was to look for match cuts: if the current scene is moving to the right as it cuts, the next scene should also be moving to the right, making them appear to flow together as one clip. This wasn’t always possible, which meant I needed to edit the original files and change their behaviour. Thanks to Dynamic Link, dropping an After Effects file into Premiere made it easy to edit the file within After Effects and see it update instantly within Premiere, allowing me to quickly see if my changes were working.
Another important part of a reel is the sound – but not that important. For the first three versions of my demo reel, I built it without sound. It’s important not to let the sound dictate all the decisions you make; the animation should be cropped based on the strengths of what’s on display, not because the beat happened to drop in the audio. Once the video has been cropped, then it’s time to start adding sound and find ways to sync the music. This may result in some changes to the earlier cropping of course, but this way it’s harder to accidentally leave out some strong animation because too much focus was put on the beat of the music.
When choosing music, it’s best to choose something copyright free to avoid any potential issues there. Fortunately, I had already curated a lengthy list of copyright free music I could choose from. I tried lots of songs but it was difficult to get the right feel – especially when trying to imagine how a three minute song would sound when cut down to thirty seconds.

Cutting this down to the time that I needed it to be required me to identify different sections within the song, giving me an opening, build up, beat drop, main chorus and an ending. This meant I had to crop out large parts of the song and overlay them with other parts, syncing the beats together and blending them with fades. I also used sound effects from Free Sound to enhance the actions shown in certain clips and to support the music, such as the explosion at the end of the video including a loud bass hit and fade out.
Once the sound and video syncing was complete, I re-watched the video many times to ensure every cut was on the right frame, all the audio levels were consistent, that there were no empty sections on the timeline and, of course, no spelling mistakes! I also put this final quality assurance pass out to some friends to review, as it’s always helpful to get another pair of eyes on a project you’ve been looking at for a long time.
Here’s the reel again, which is a good re-watch after learning more about how it was made. Overall, I’m pleased with how the demo reel came out and excited to use it to try to achieve my goals.
